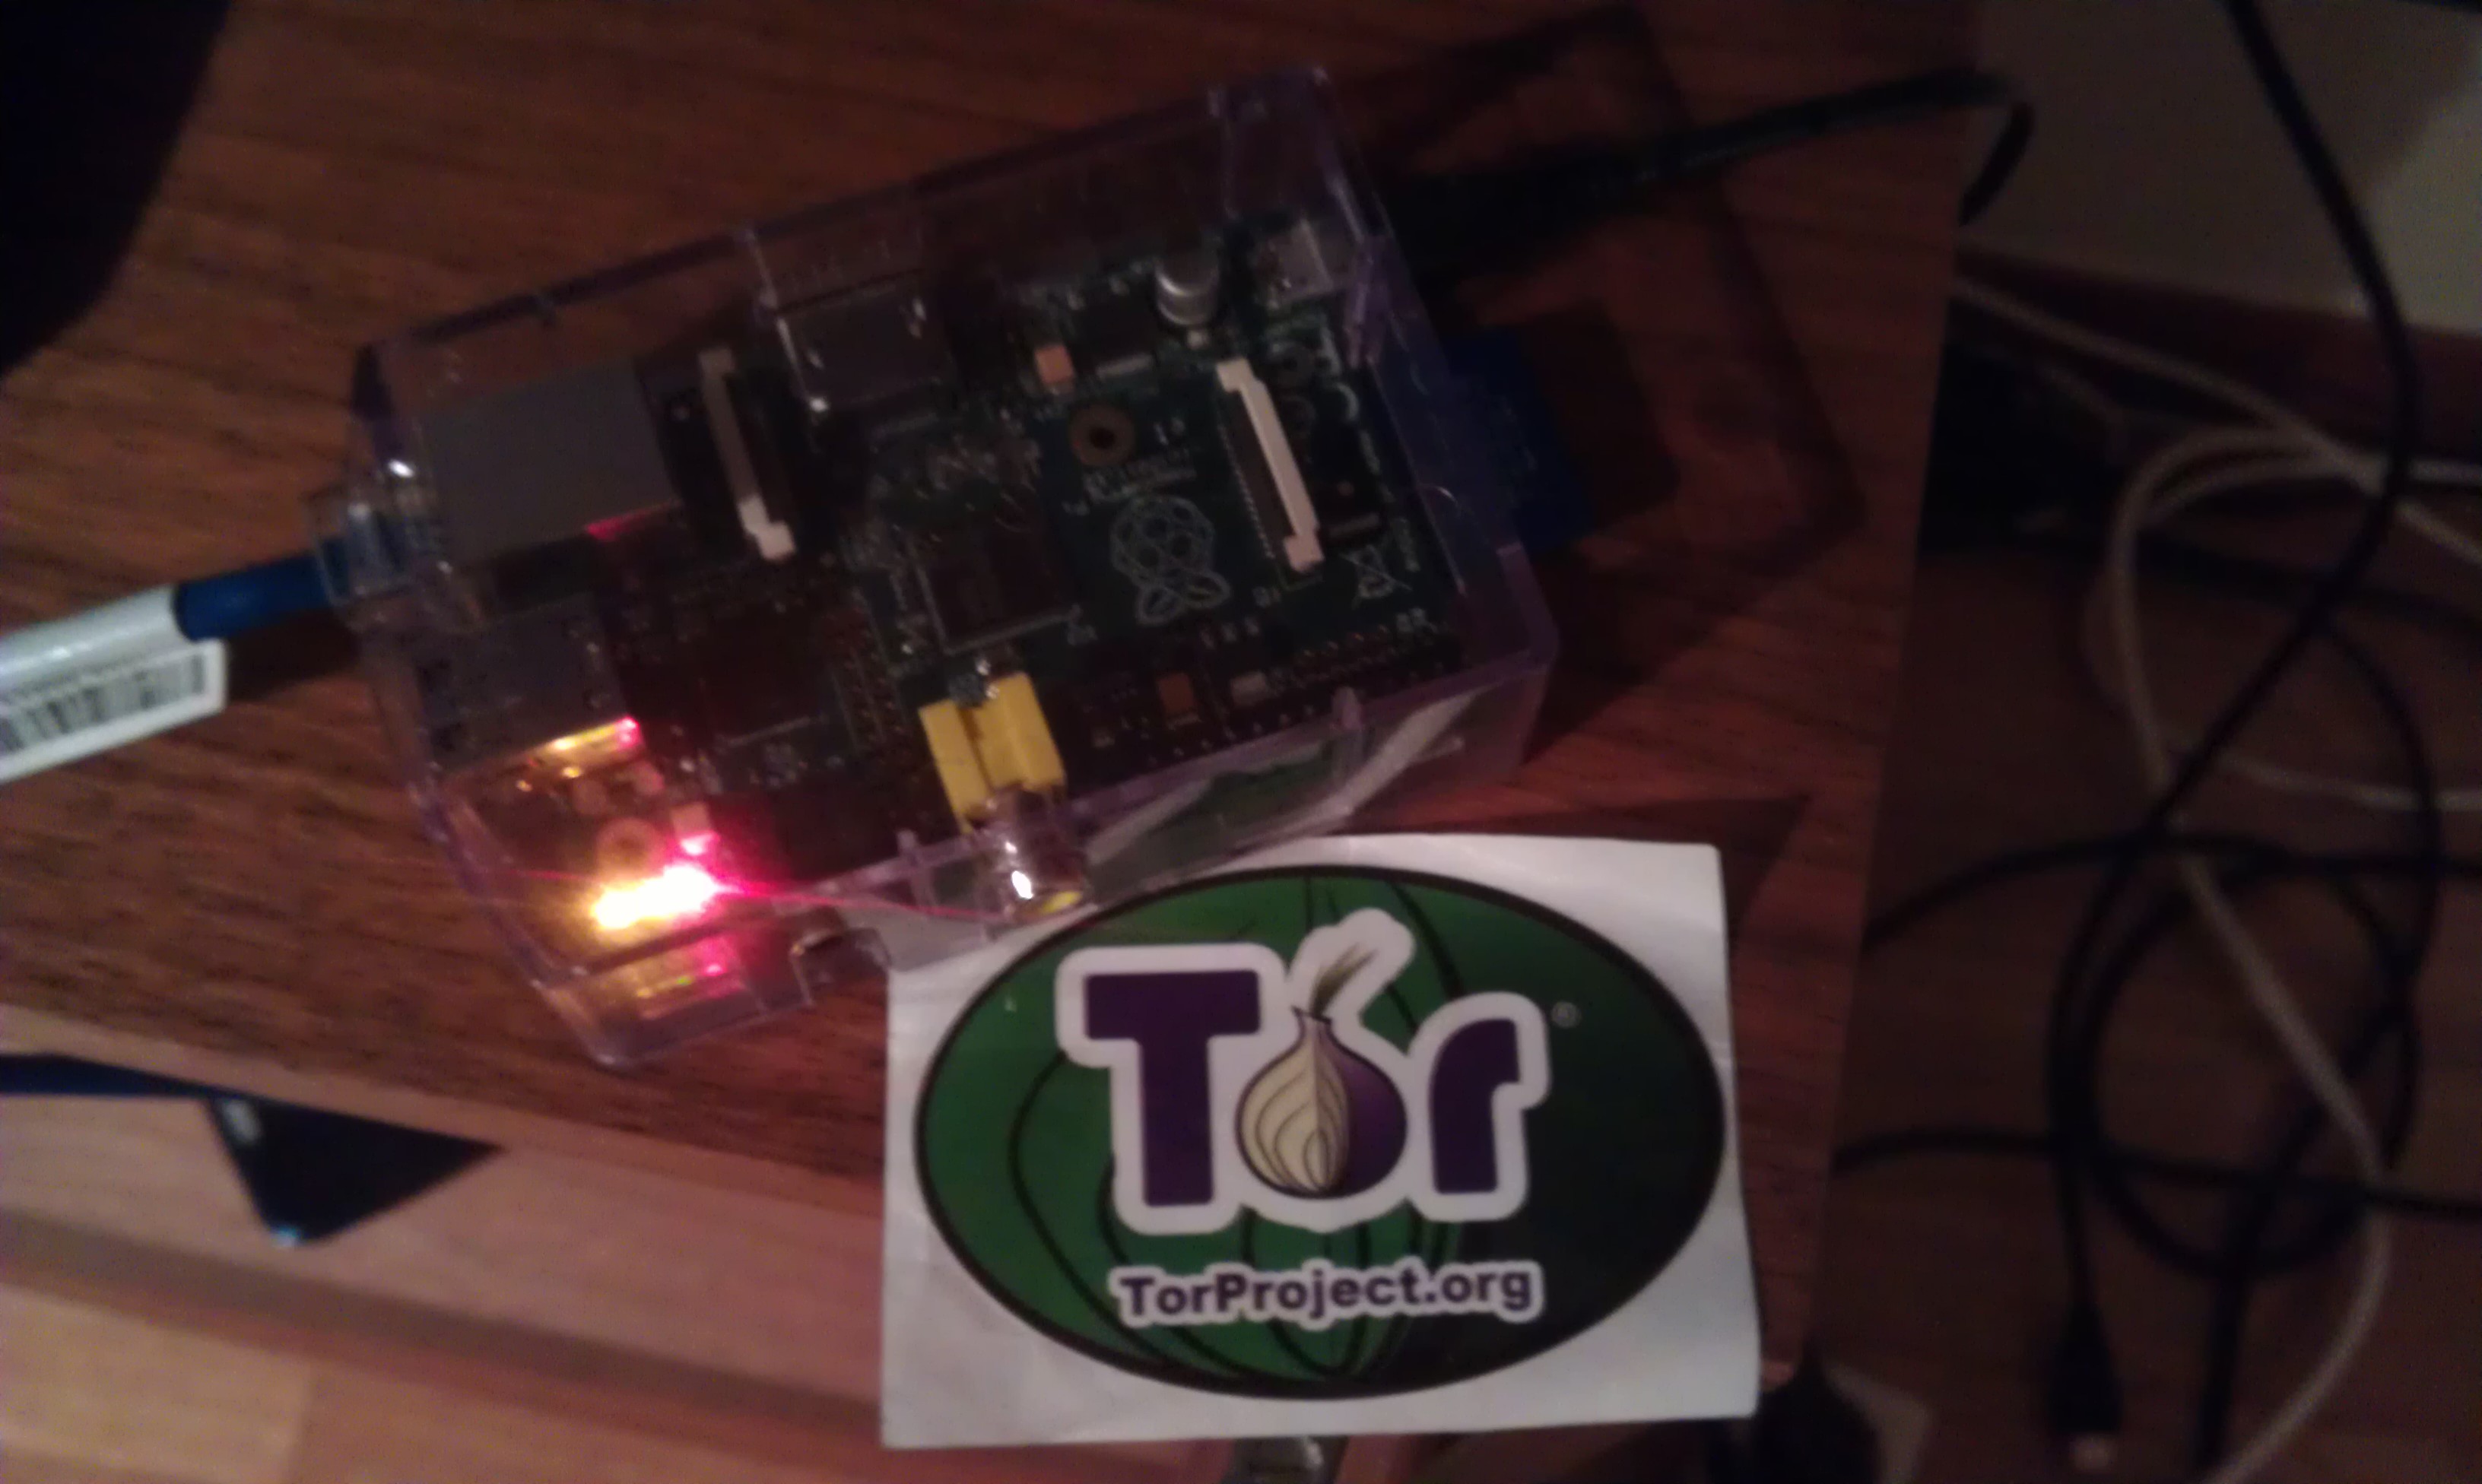
The other week i got my cute little RaspberryPI. Amongst the different projects i tried (it’s very nice to just have a set of SD-cards ready for this), i wanted a silent, small,low power Tor-relay.
Yey, I already had a Tor-relay, on an old Atompowered Asus EEE, with a broken flatscreen and a non-working keyboard. Works, but starting to reach it’s end-of-life. I read somewhere that the Raspberry PI can handle about 6 MBytes/Sec and that’s more than enough for me.
Well, the setup was really,really easy, here’s how to do it:
* Follow this guide for the basic Tor-install
Now, if you want a gui/monitor for Tor, there’s 2 ways to go. If you’re planning to run X, install Vidalia. Otherwise (or if you want something more lightweight) go for Tor-arm. My recomendation is that you install them both.
Installing arm
sudo apt-get install tor-arm
and that’s about it. Run it after you have started the Tor-process. You may need to have set the password for connectiong to Tor before this (/etc/tor/torrc)

Installing Vidalia
do
sudo apt-get install vidalia
- you might have to change some folder permissions, check the vidalia message log from the vidaliaGUI, it’ll tell you.
- Also, don’t forget to change the pathway to the config file in vidalia, so that it uses the same config as your original TOR install. ( /etc/tor/torrc).
And don’t forget to open the ports ORPort and DirPort (default 9001, 9030) in your firewall. And maybe do some portforwarding to your Raspberry in your router.
I’m very happy with my litte silent, low power-consumption,cheap Tor-relay. Working for freedom 24/7. After about one day i have the 50-80% cpu usage, and average of 2.1 MB/S down 2.5 MB/s up. No X started.
Next, i’ll try to setup another one with I2P on it.
